Deployment Guide
What this document is: A step-by-step guide to deploy Clawscan within your Microsoft 365 and Azure environment.
Why this matters: Ensures correct installation of all required components while preserving security, privacy, and data isolation.
When to use this: During initial technical deployment.
Deployment overview
Clawscan is deployed entirely within your Microsoft 365 and Azure environment.
The setup includes:
- Shared mailbox setup
- Azure resource group creation
- AI environment configuration
- Clawscan Engine deployment
See:
1. Shared mailbox setup
The shared mailbox acts as the entry point for communications to be analyzed.
Create the mailbox
- Go to Microsoft 365 Admin Center
- Navigate to Teams & groups → Shared mailboxes
- Create a new mailbox
Example:
- Name:
Clawscan Engine - Email:
scan@your-domain.com
Register application (API access)
-
Go to Azure Portal → Microsoft Entra ID → App registrations
-
Create a new app (e.g.
Clawscan-Mail-Access) -
Store:
- Client ID
- Tenant ID
- Client secret
Configure permissions
Grant:
Mail.ReadWrite(application)Mail.Read.Shared(delegated)
👉 Admin consent is required.
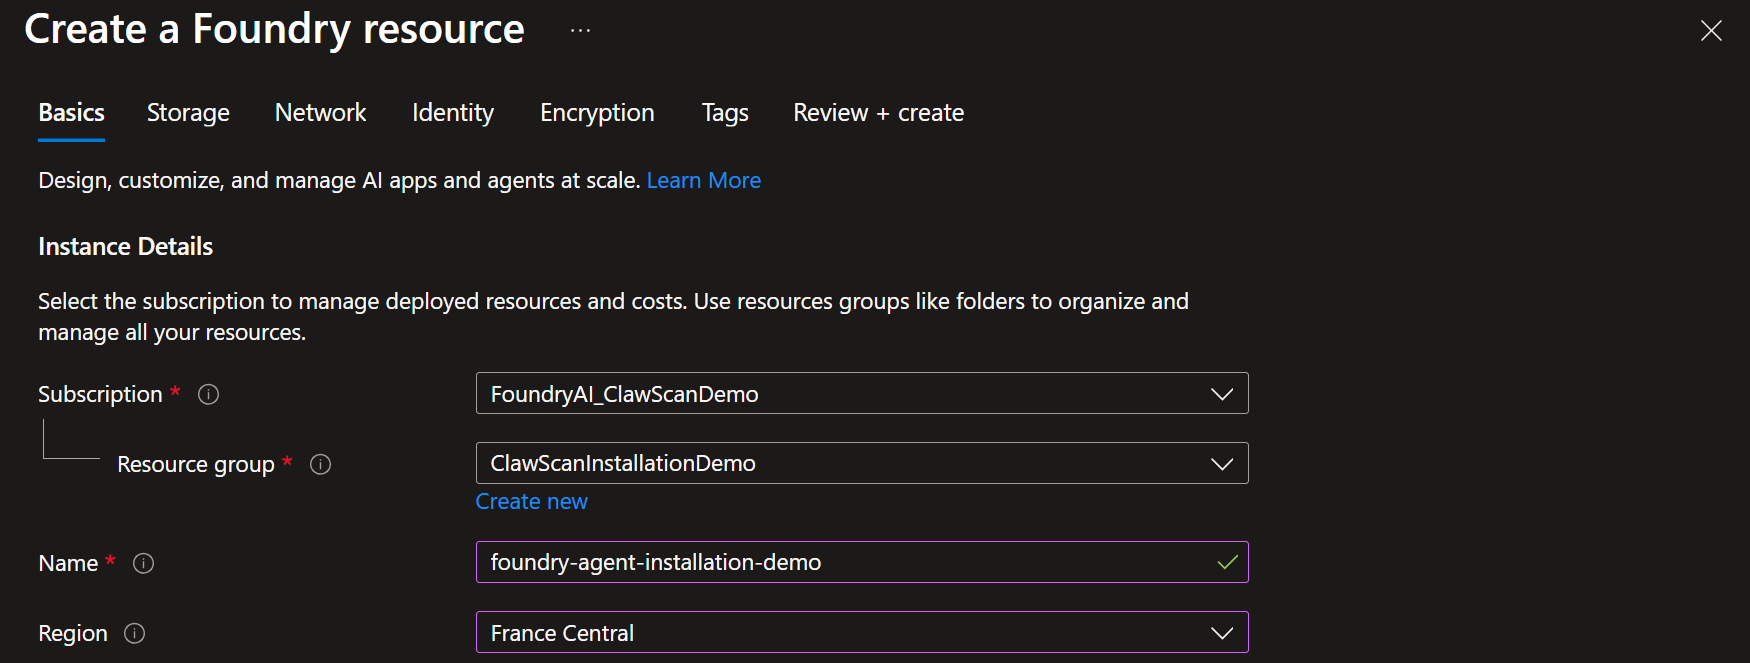
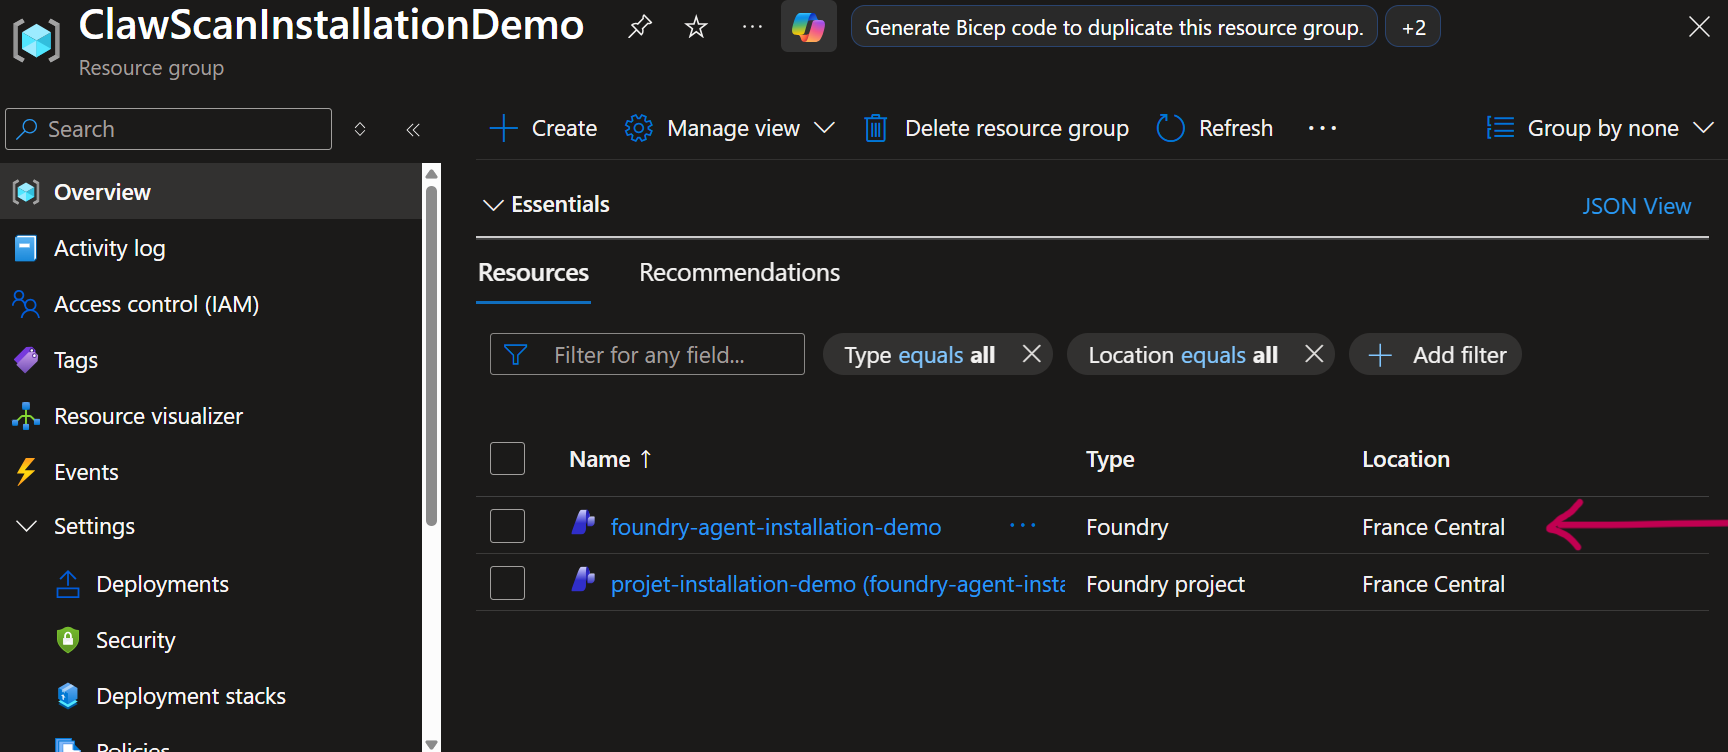
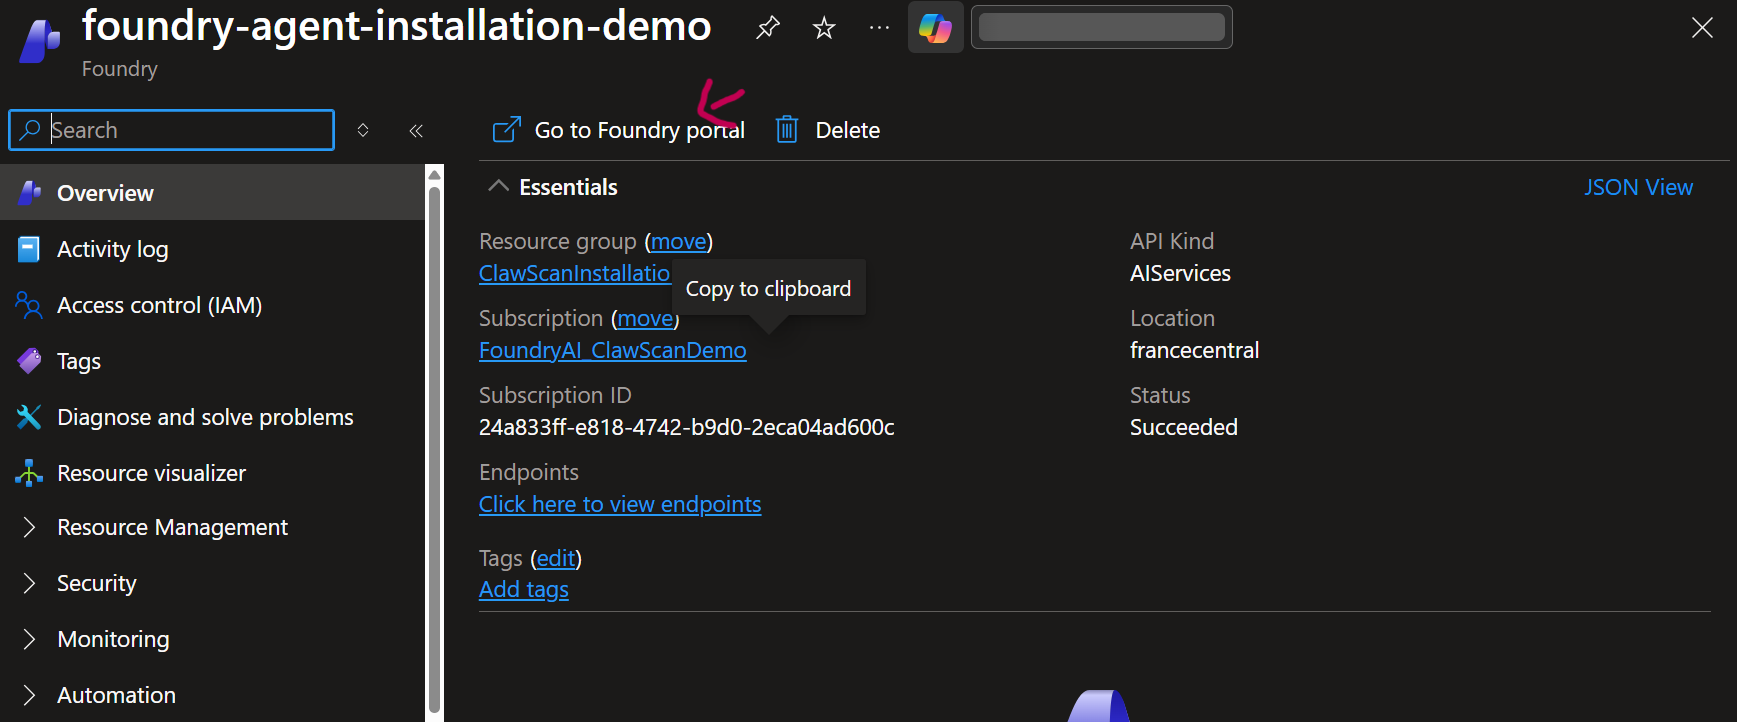
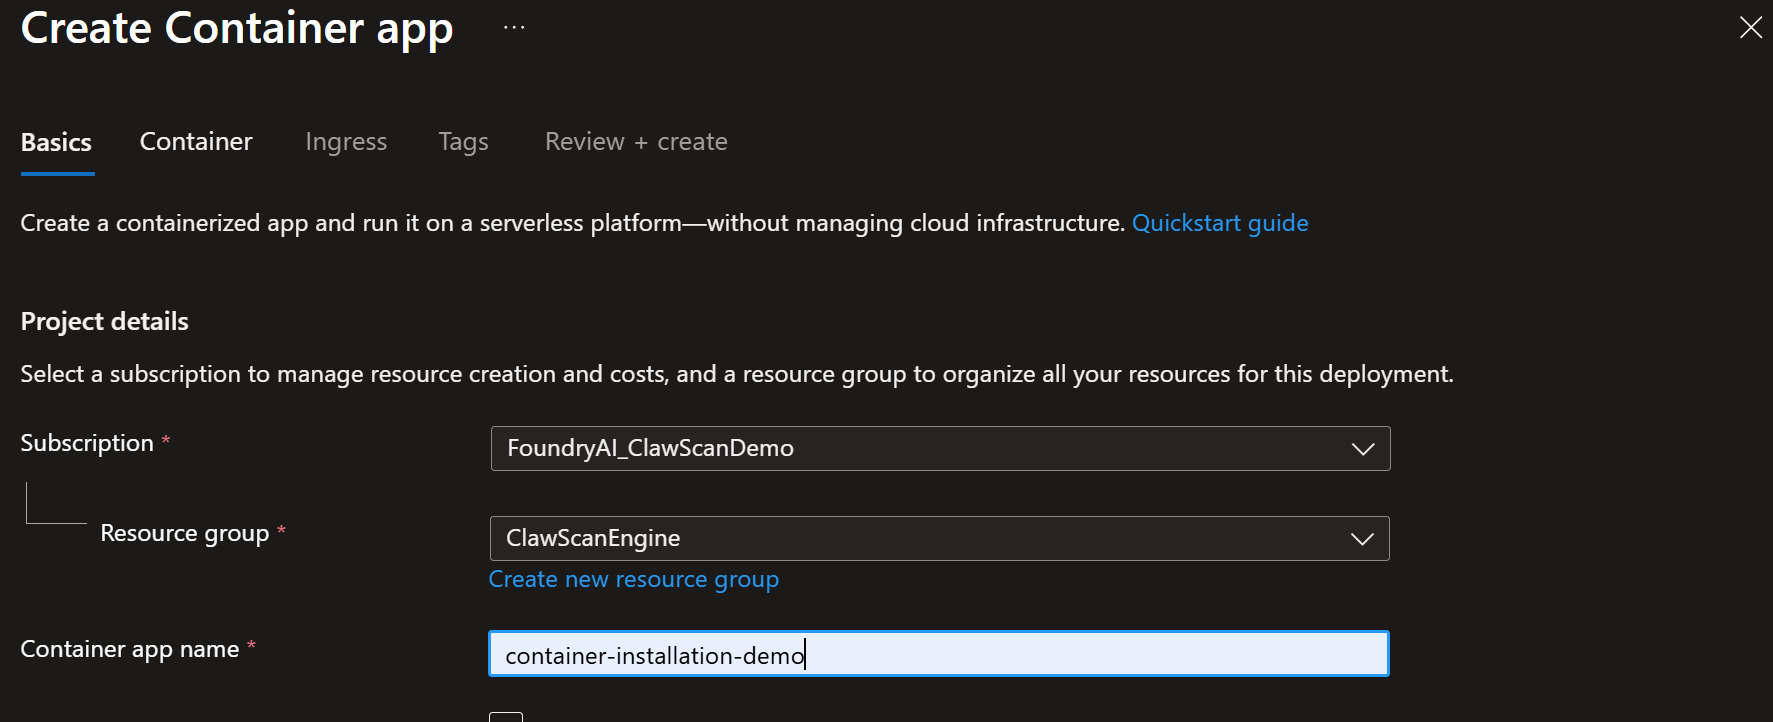
2. Azure resource group
Create a dedicated resource group to host all Clawscan components.
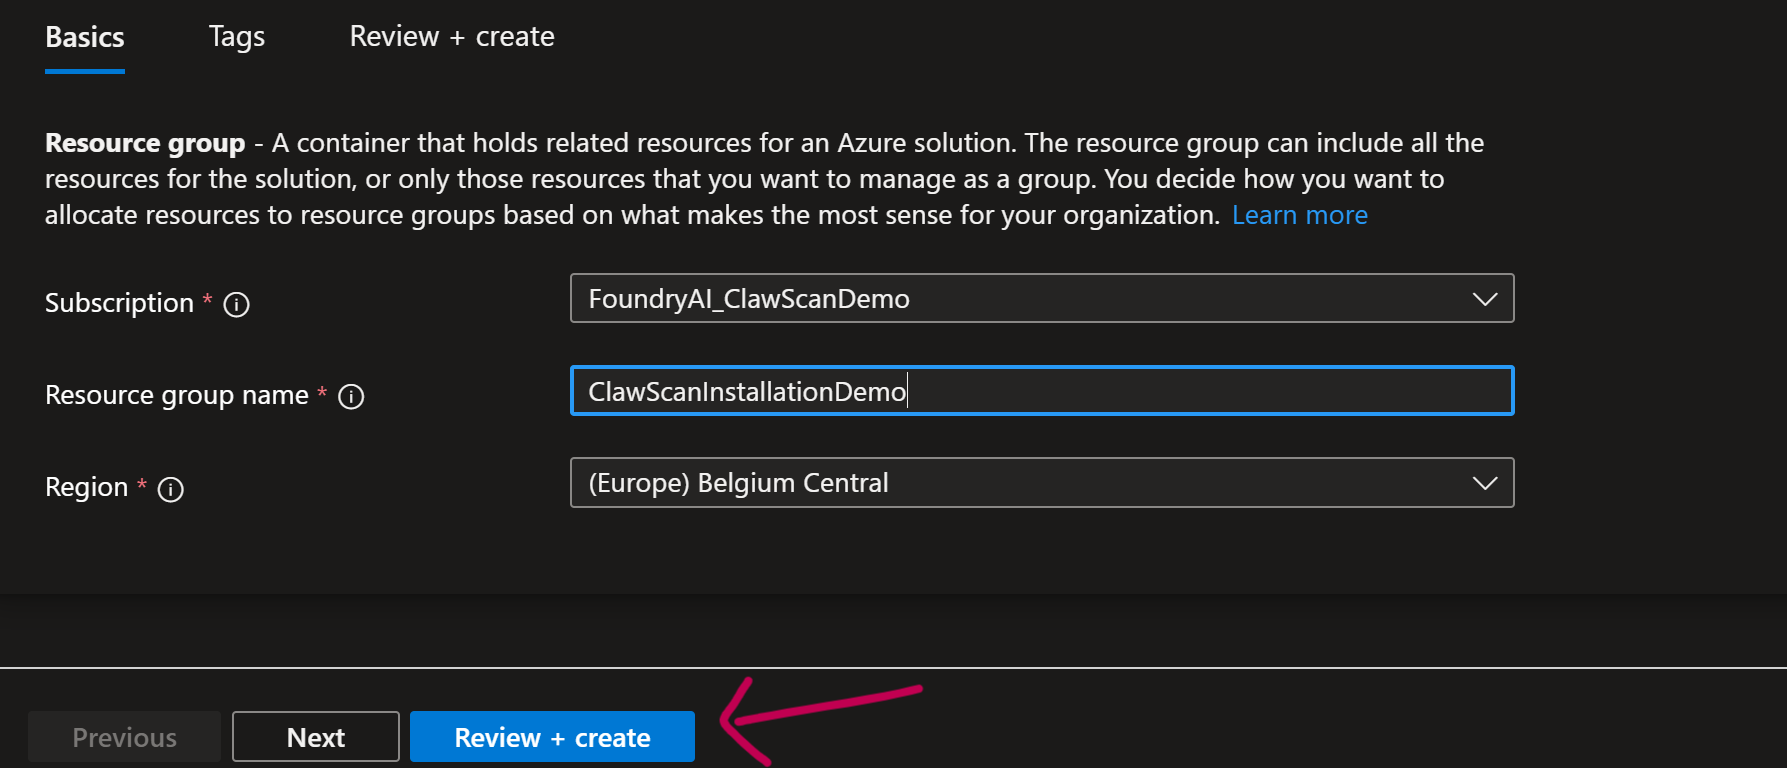
- Choose subscription
- Define name and region
- Click Create
This ensures proper isolation and governance.
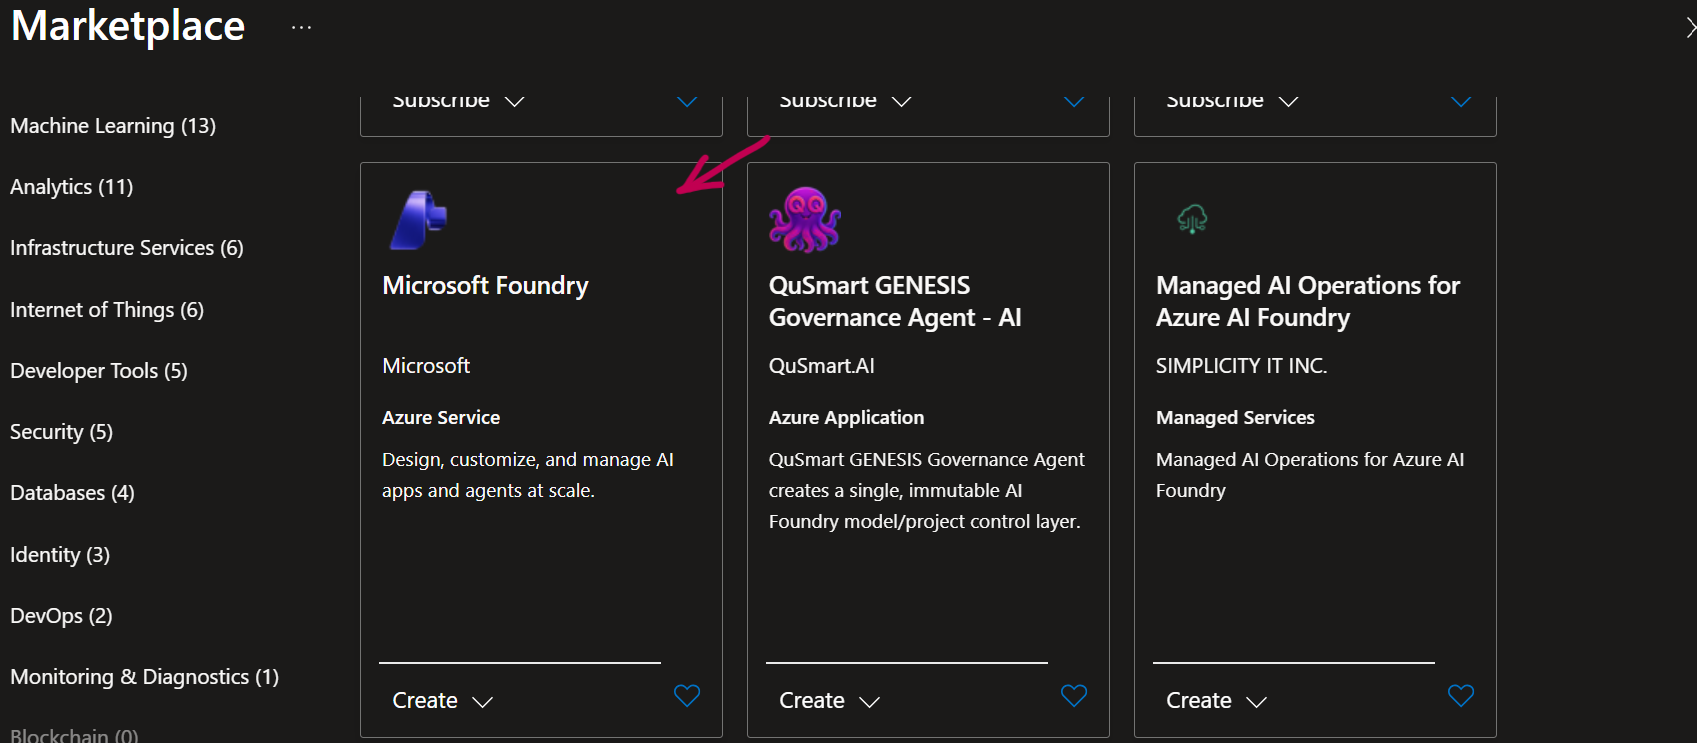
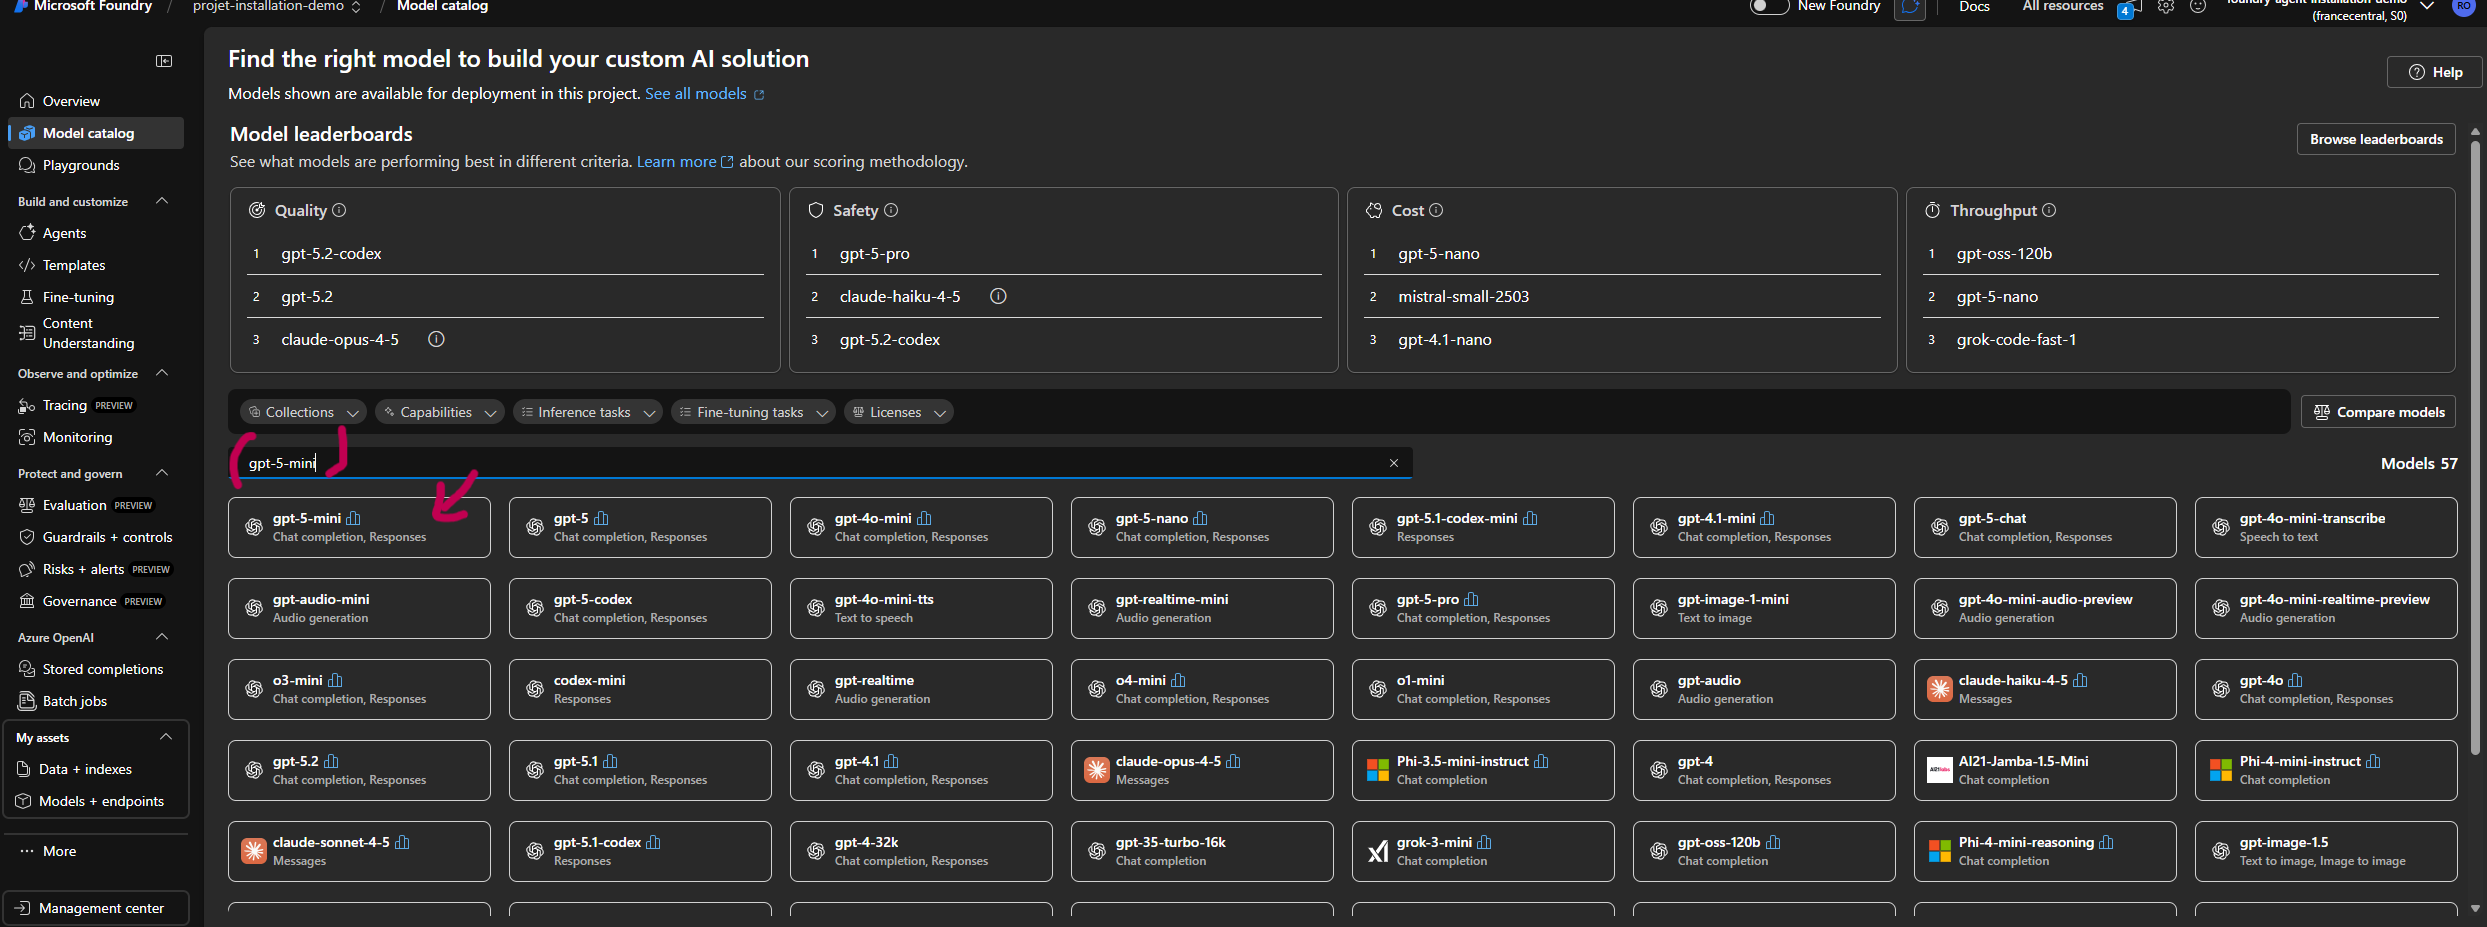
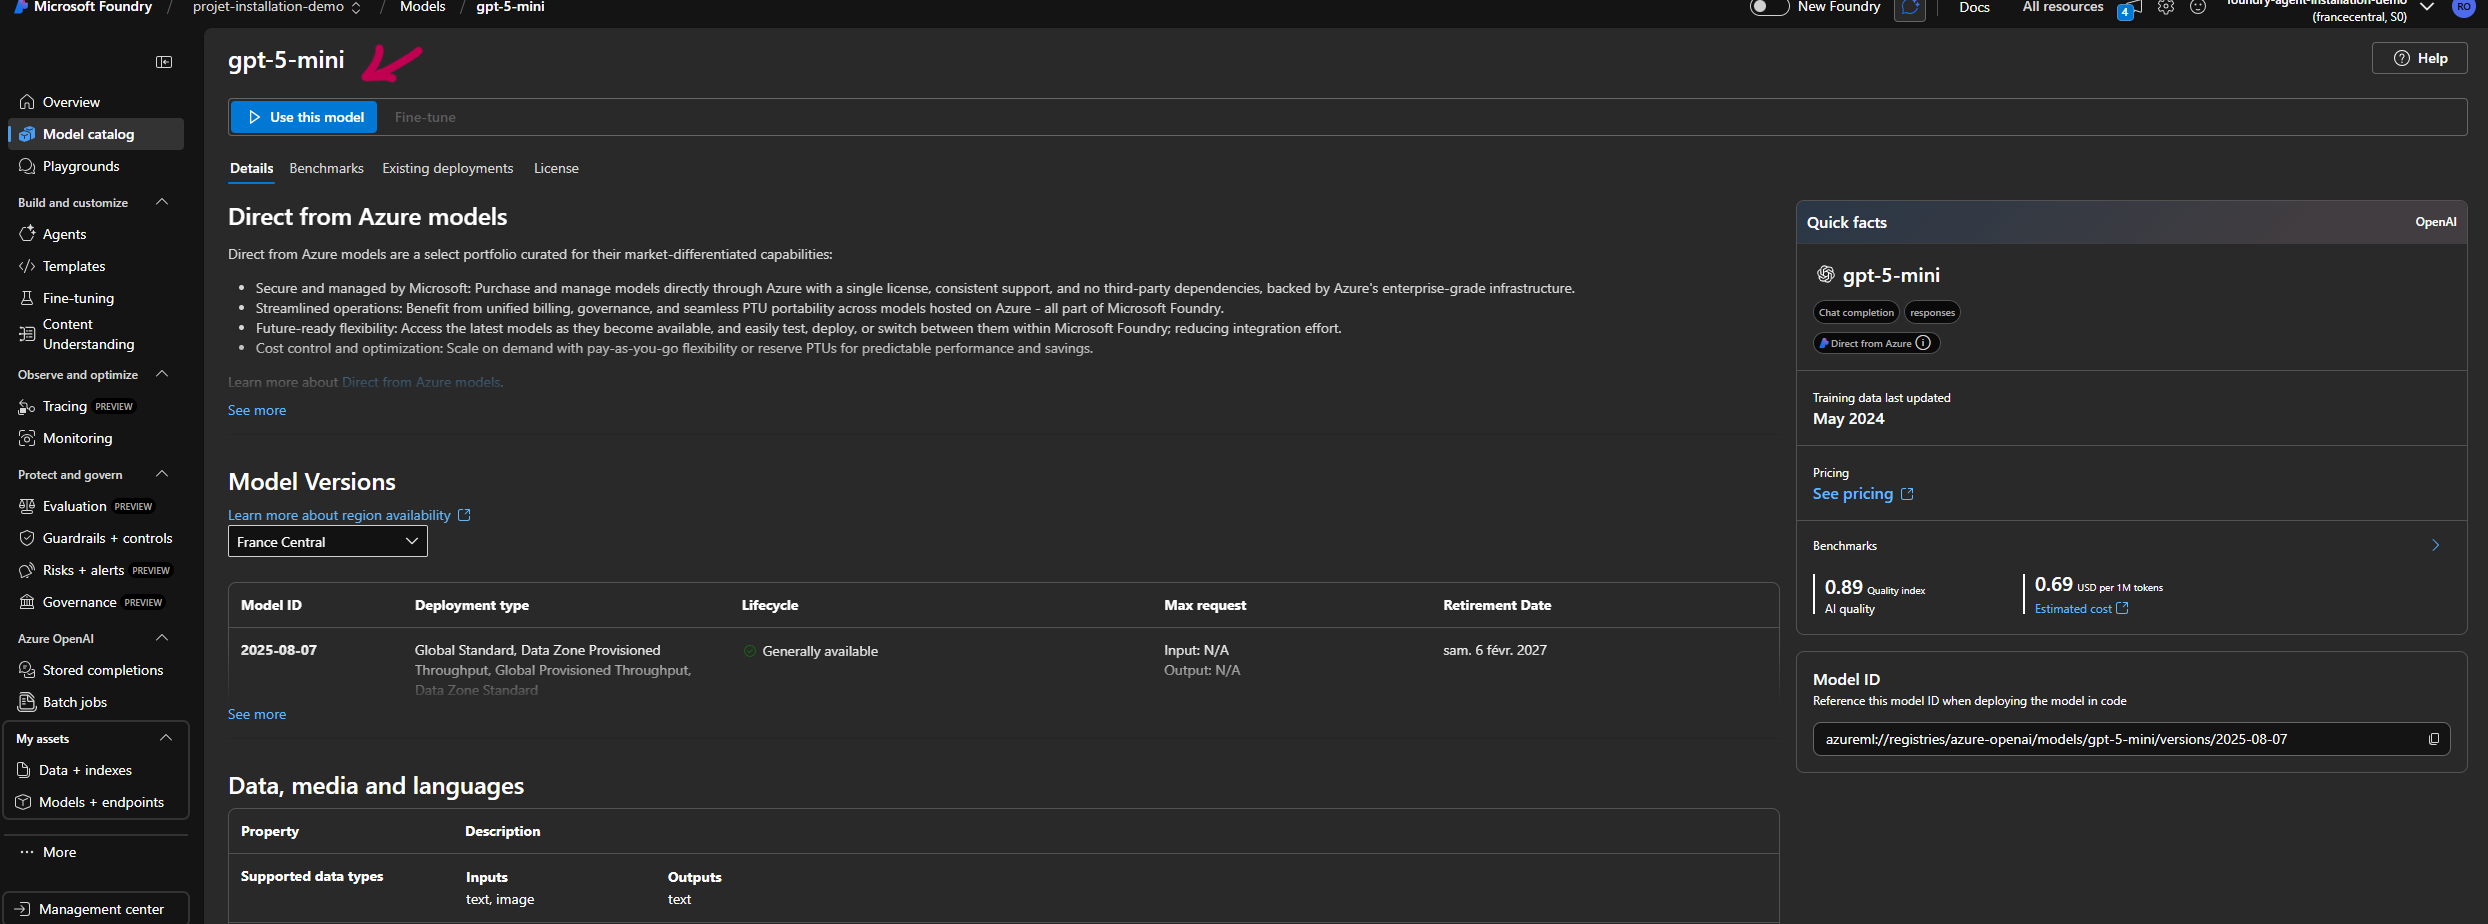
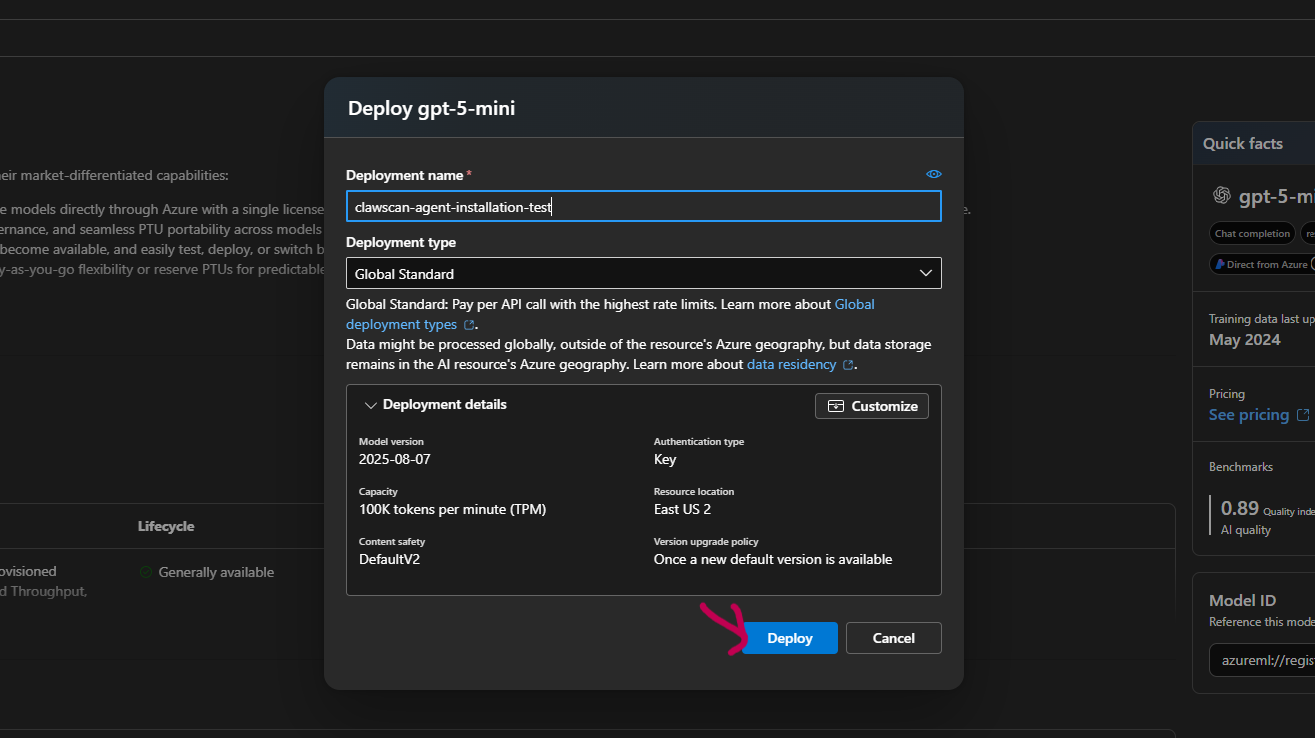
3. AI configuration
Clawscan relies on an AI environment configured within your Azure tenant.
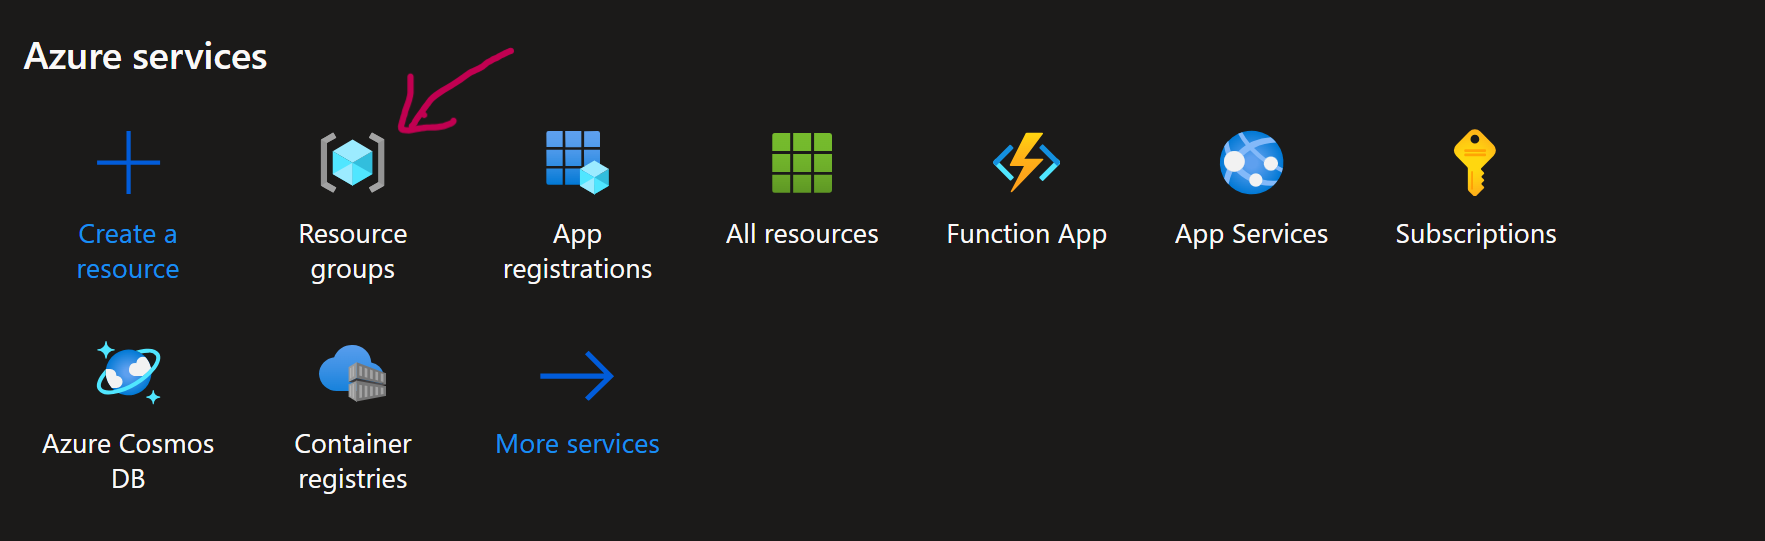
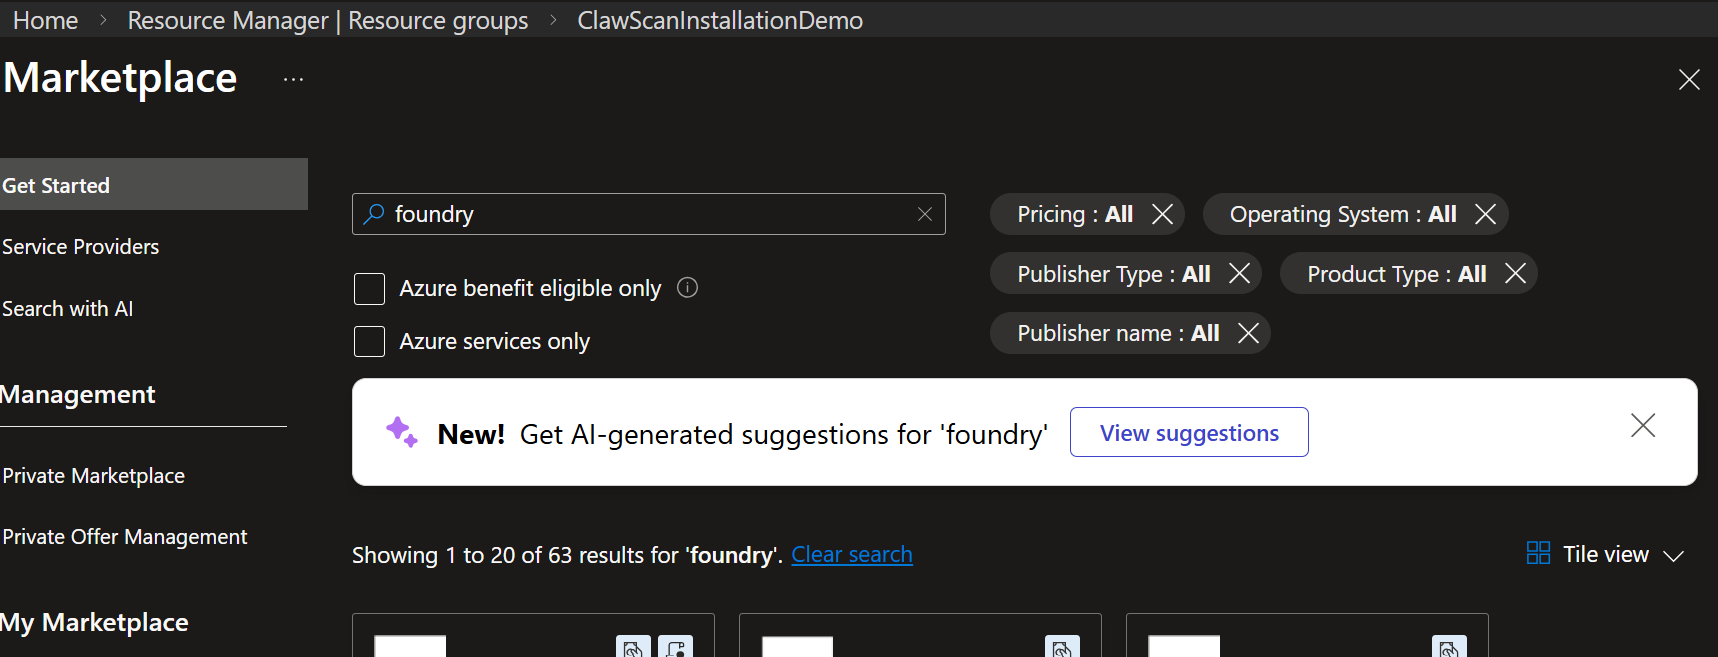
Create the resource
- Go to Azure Portal
- Click Create a resource
- Search for and select the AI service
Configure and deploy
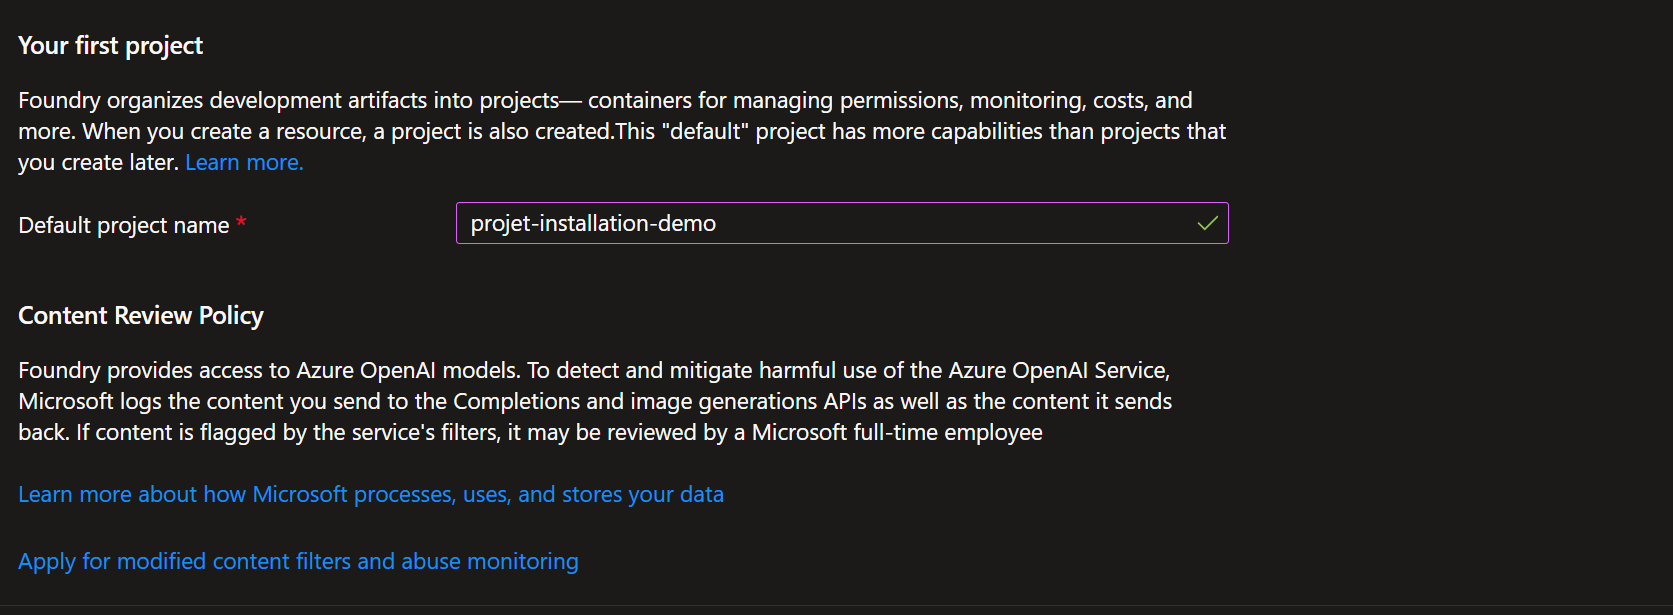
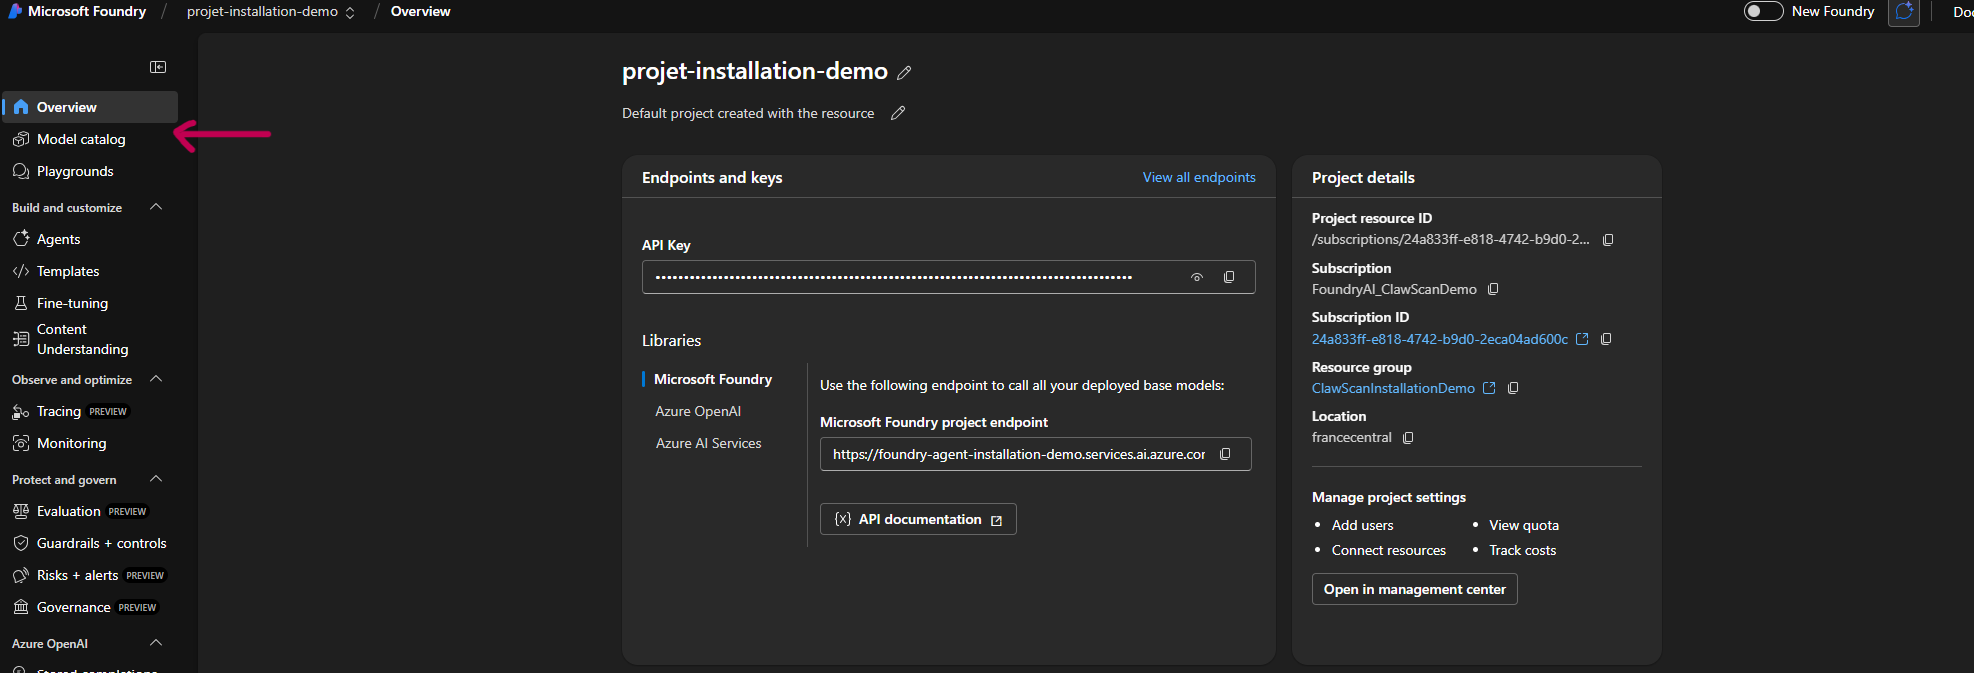
Retrieve credentials
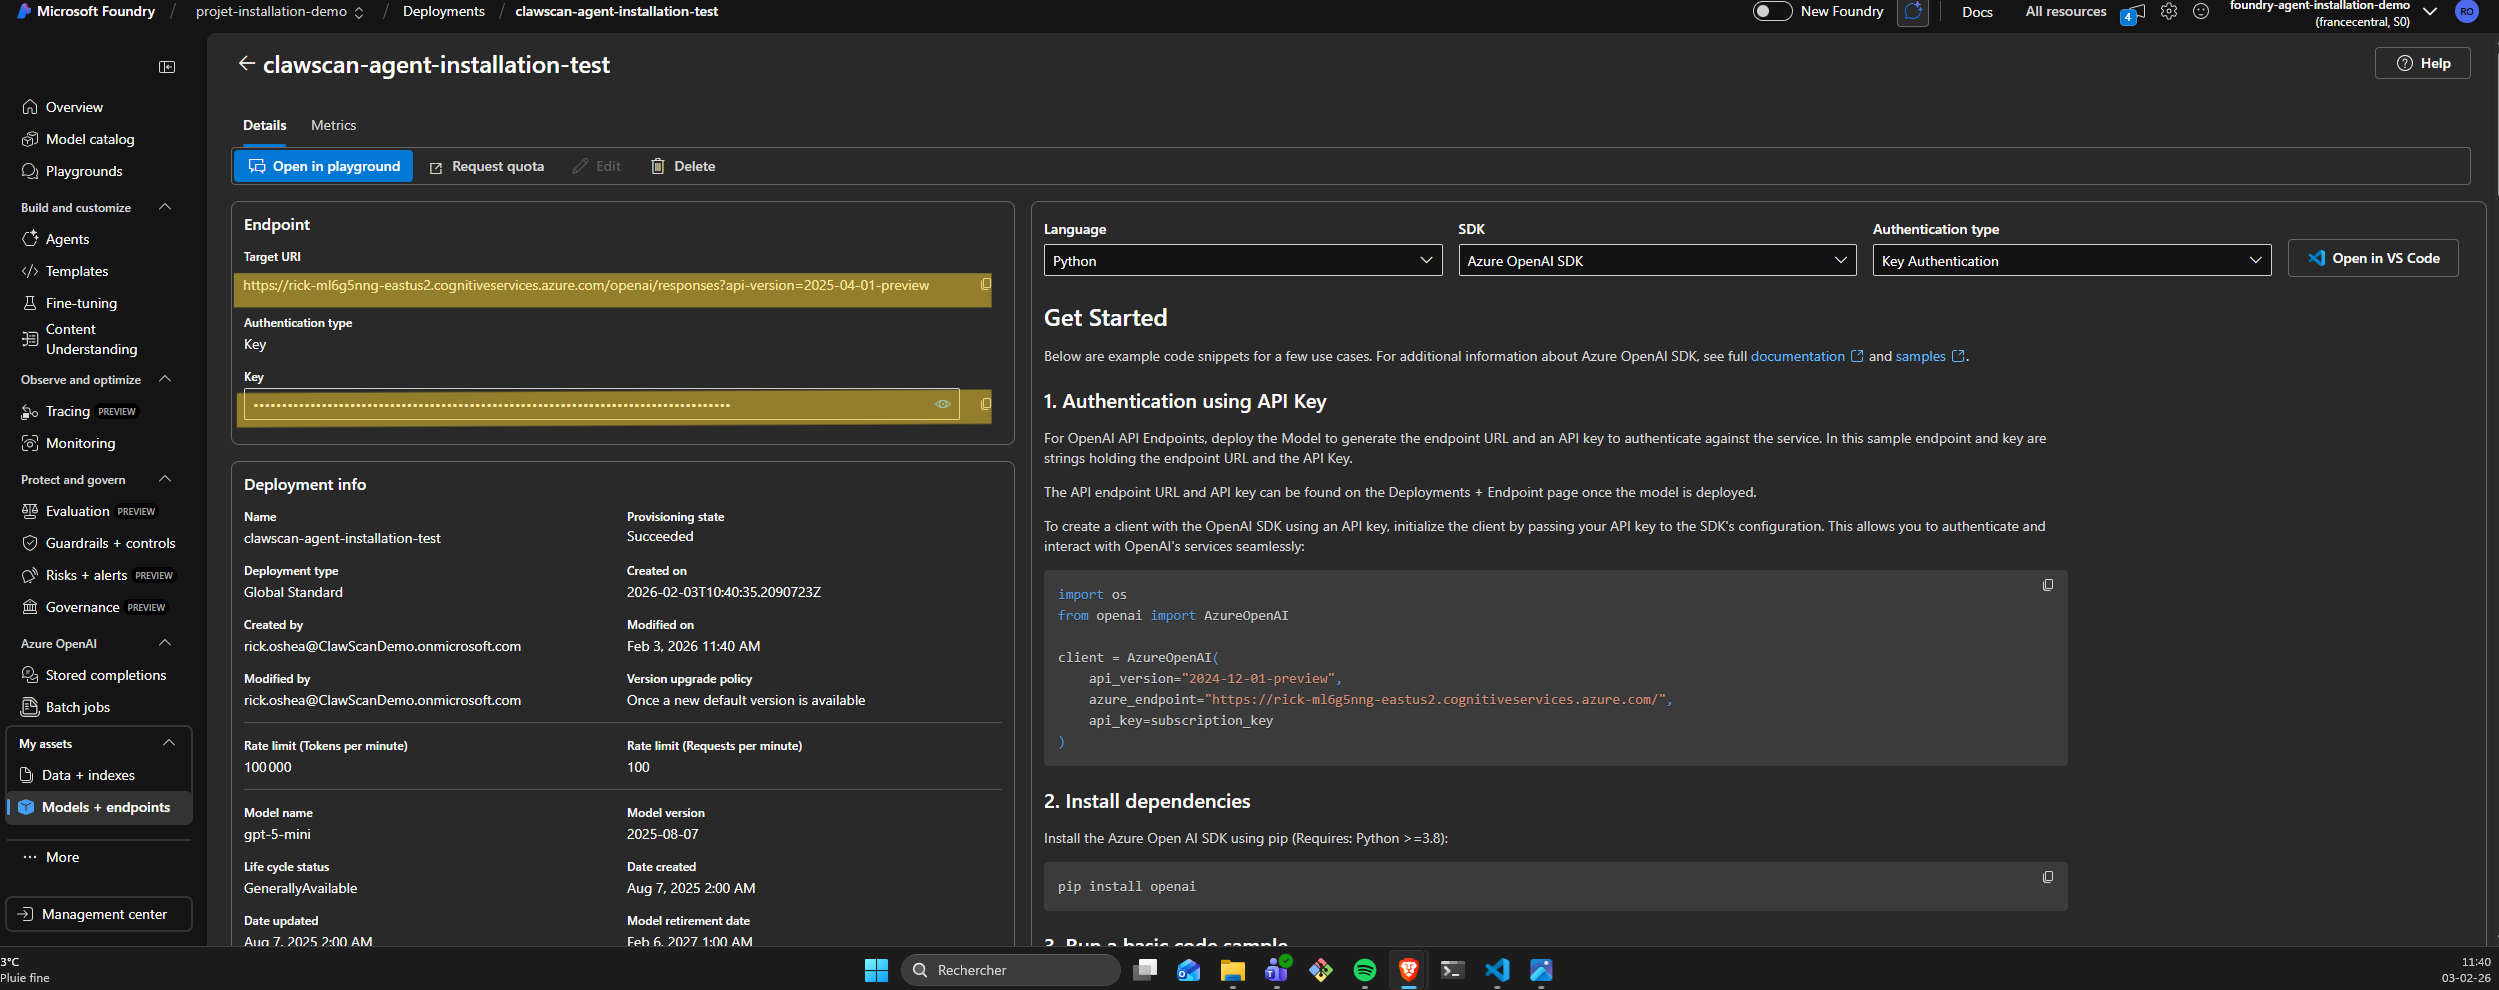
⚠️ Store securely:
- API key
- endpoint URL
These are required for the engine configuration.
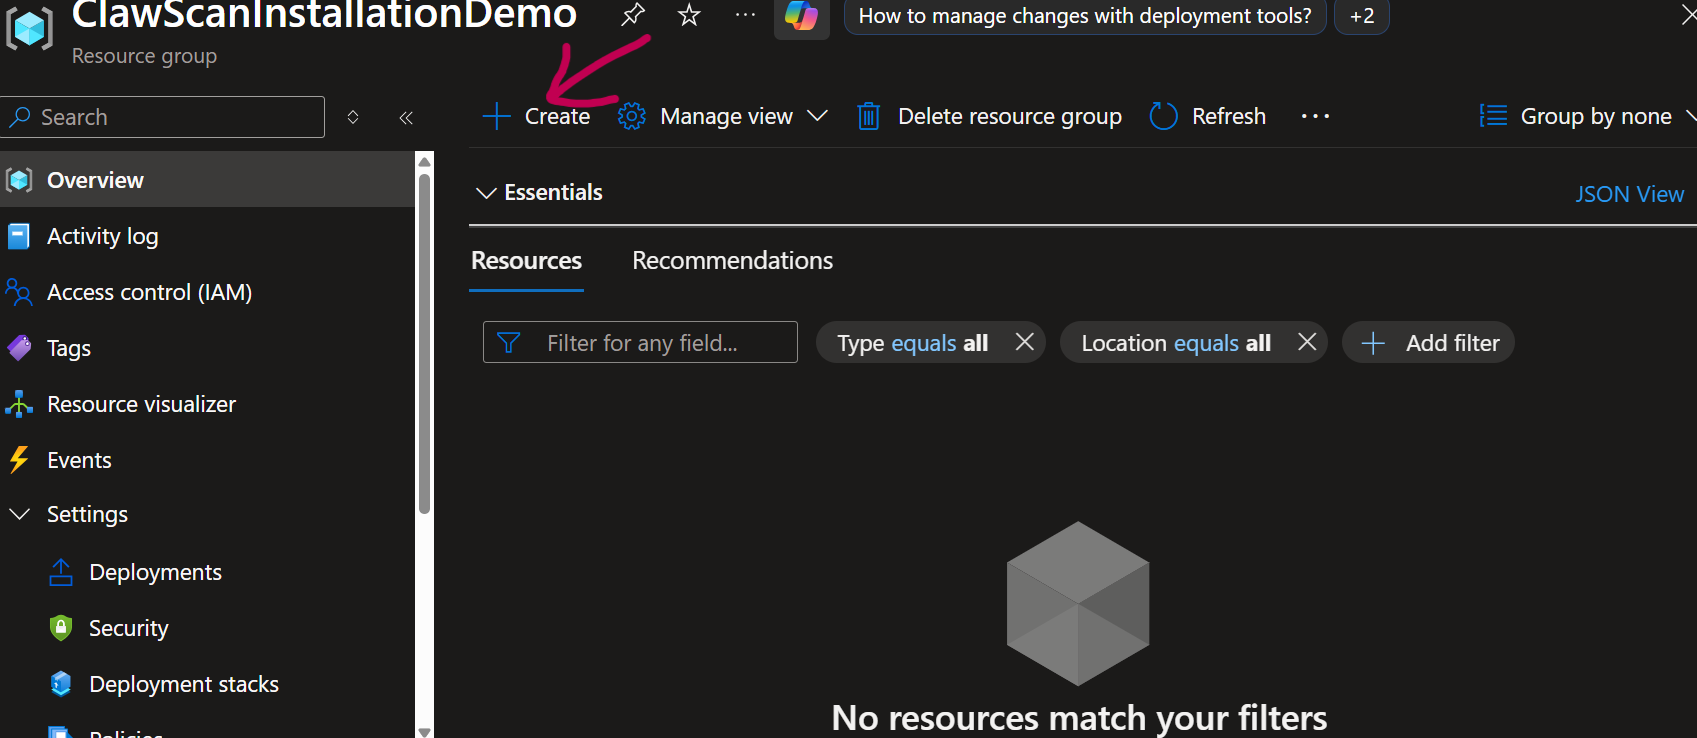
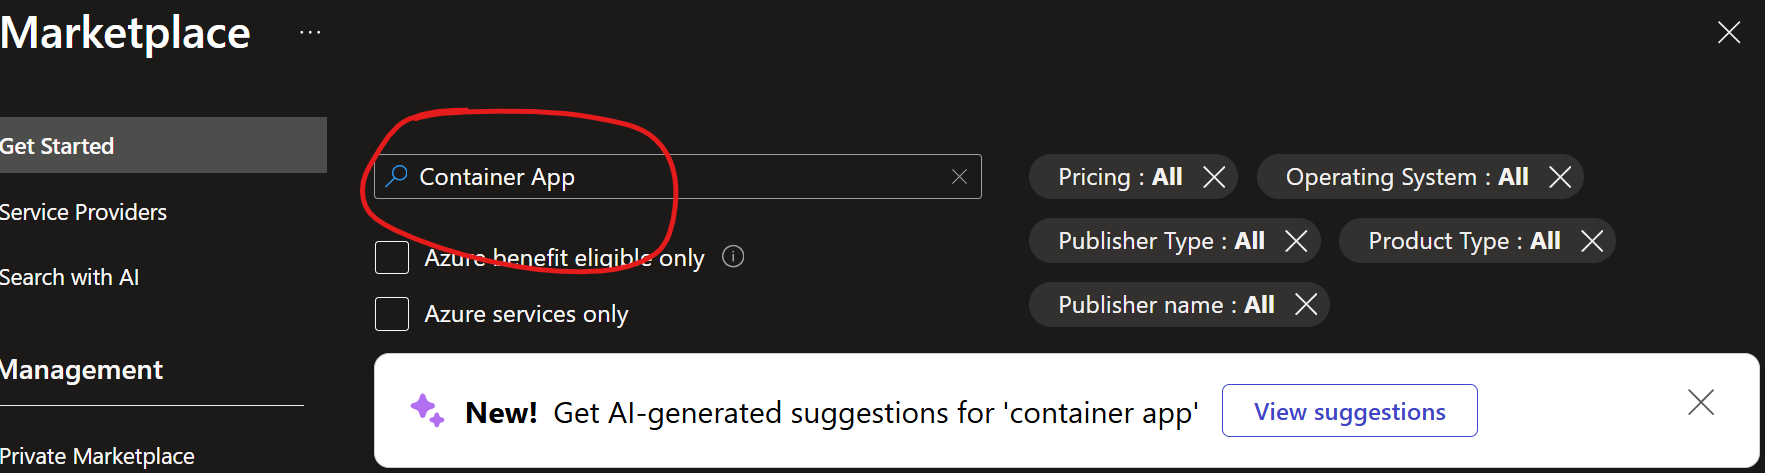
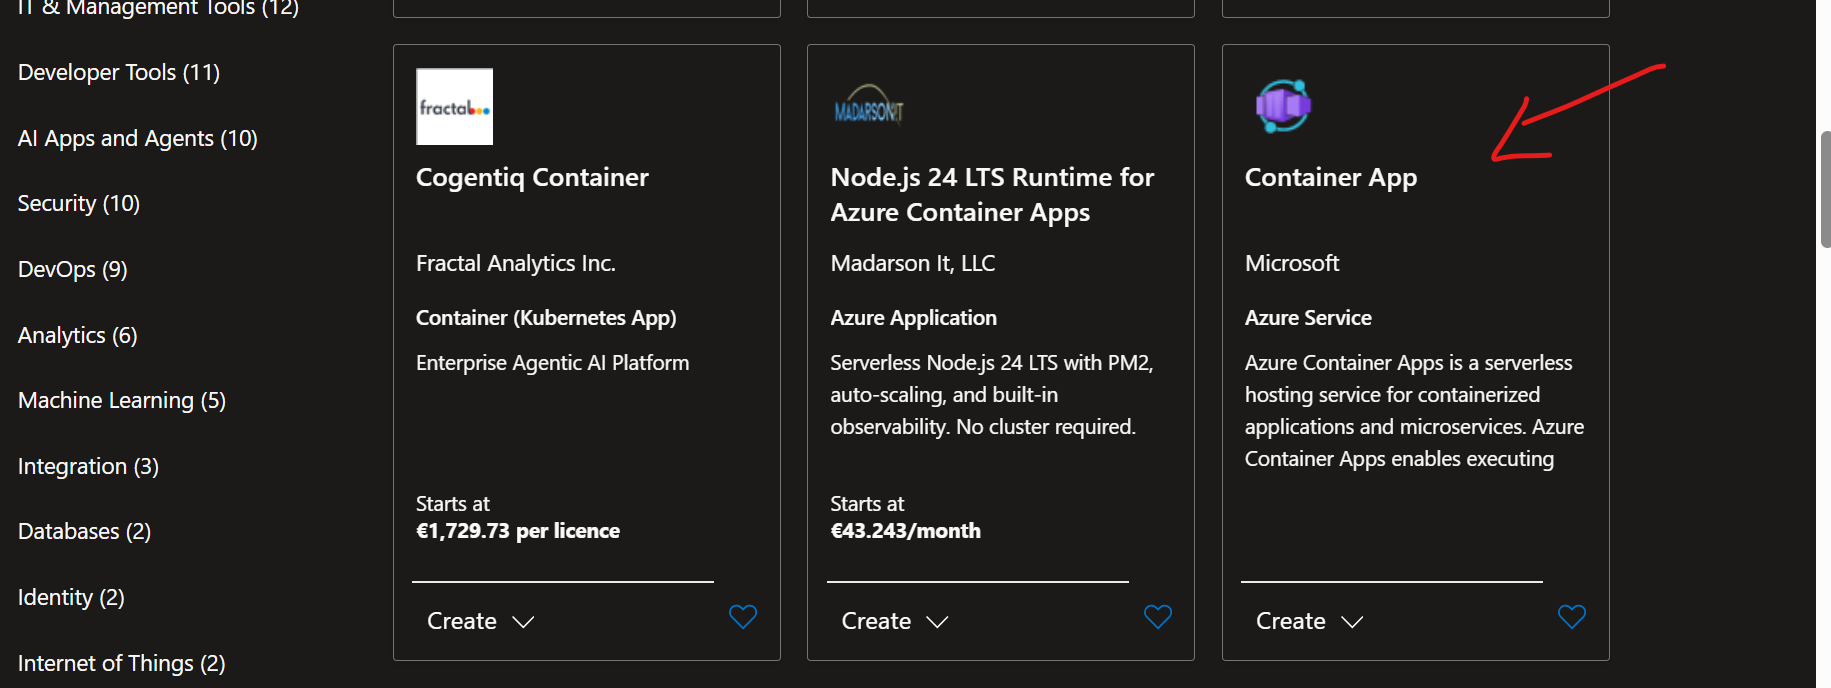
4. Clawscan Engine deployment
The Clawscan Engine runs as a containerized service in your Azure environment.
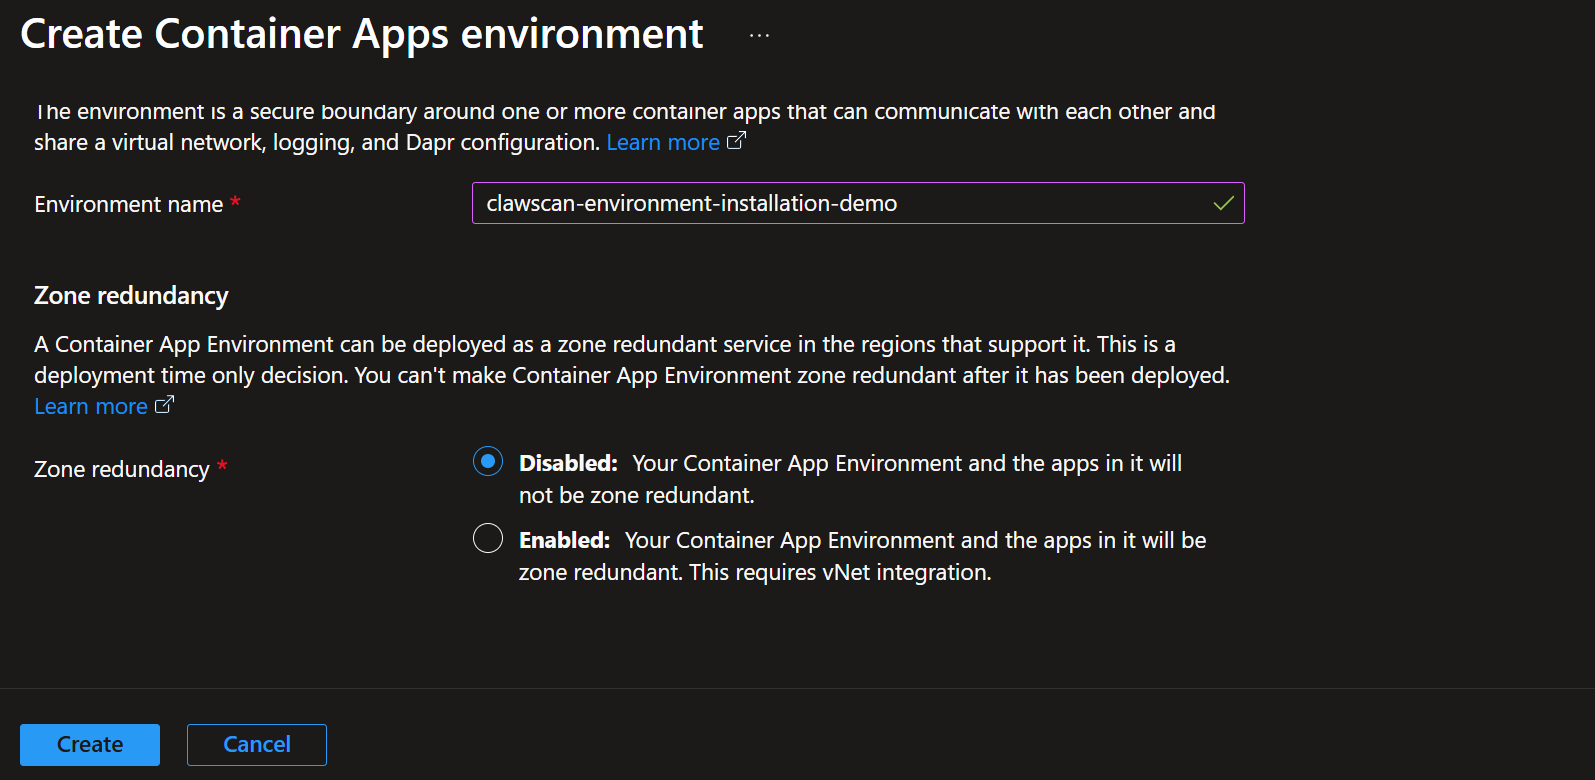
Create container app
Configure environment

Configure image and registry
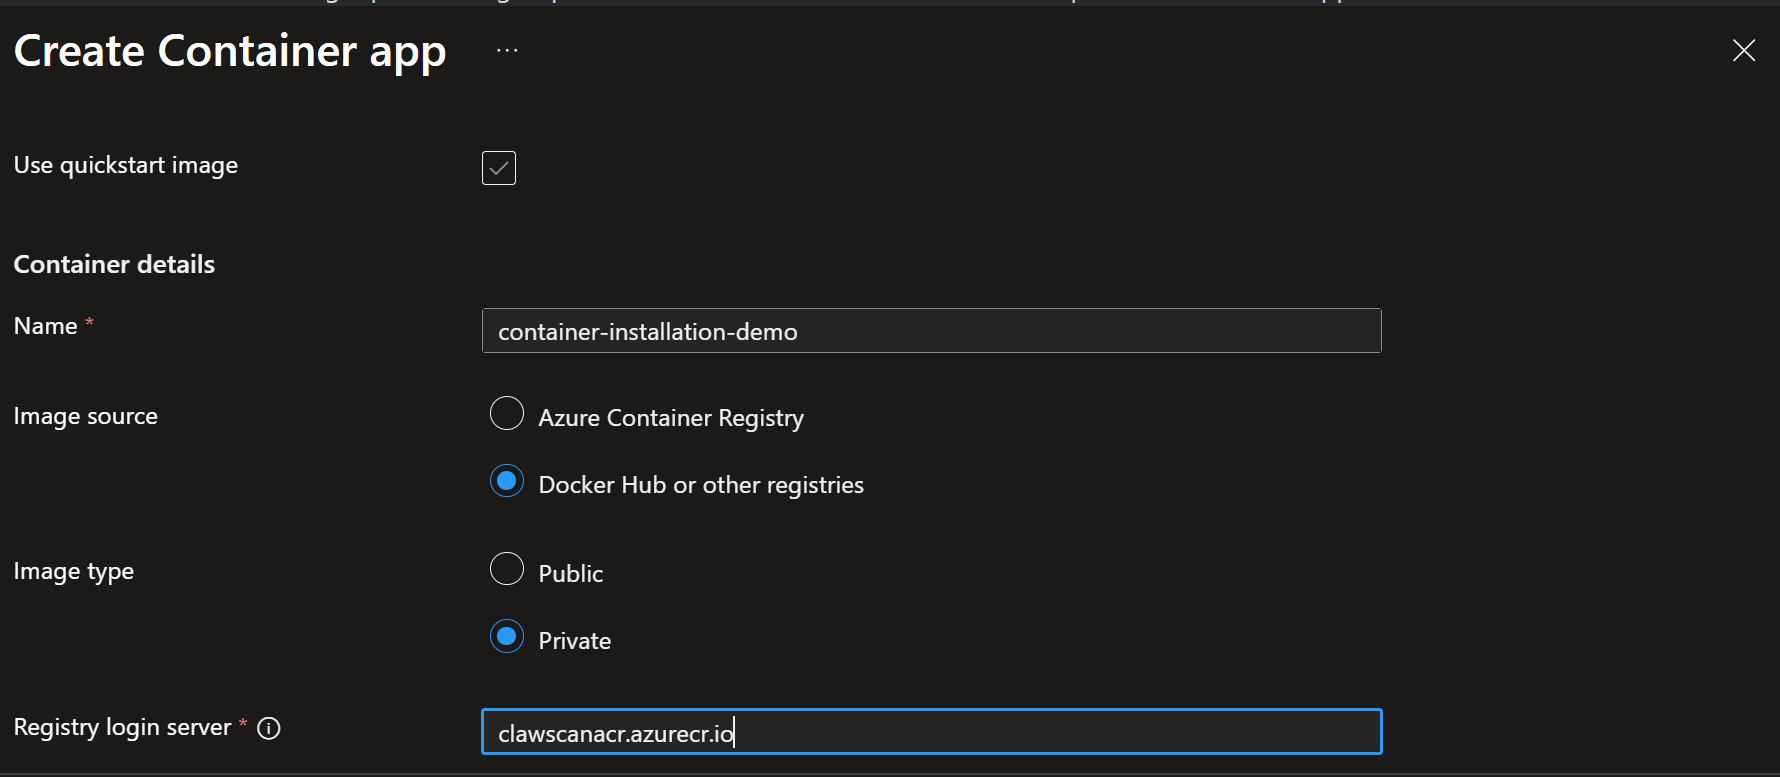
Configure authentication

Set environment variables
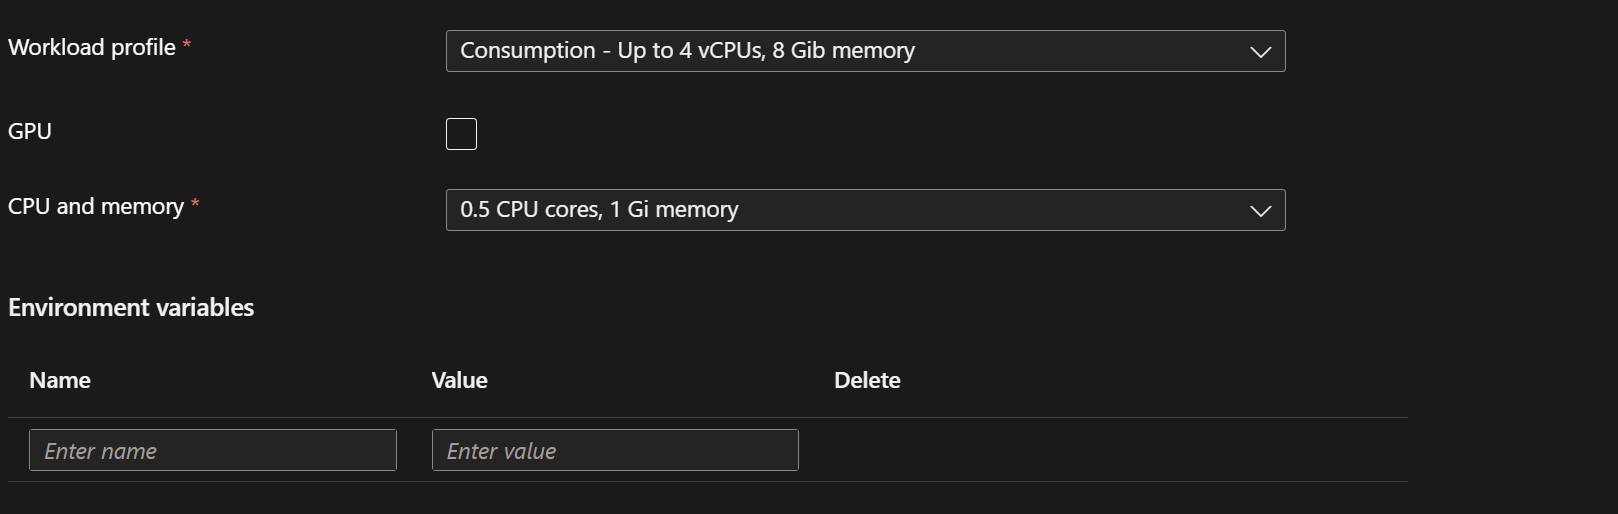
| Variable | Description |
|---|---|
| SHARED_MAILBOXES | mailbox to monitor |
| TENANT_ID | Azure tenant ID |
| GRAPH_CLIENT_ID | app registration ID |
| GRAPH_CLIENT_SECRET | app secret |
| FOUNDRY_API_KEY | AI API key |
| FOUNDRY_URL | AI endpoint |
| GET_CONFIG_URL | Clawscan config endpoint |
| POST_RESULT_URL | Clawscan result endpoint |
⚠️ Replace all placeholder values with your actual credentials.
What the engine does
Once deployed, the engine:
- retrieves communication content
- performs AI-based analysis
- generates risk signals
- transmits derived results and telemetry
No raw communication content leaves your environment.
See:
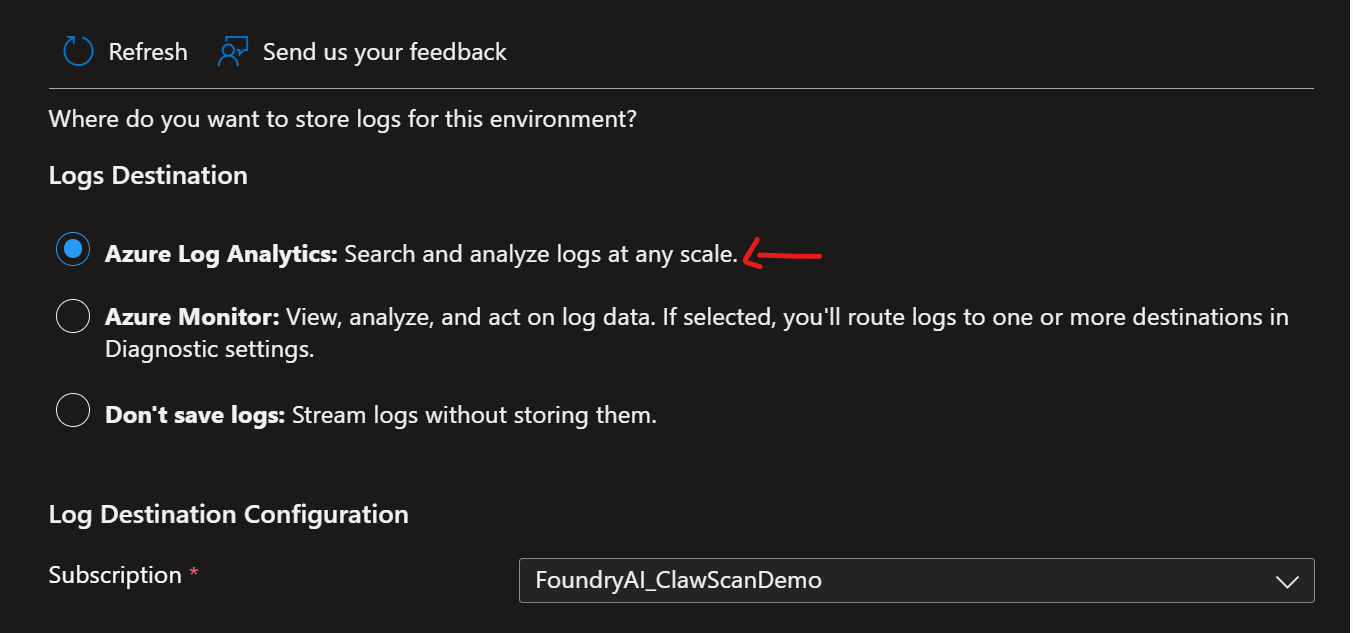
Monitoring and logs
Enable logging via Azure:
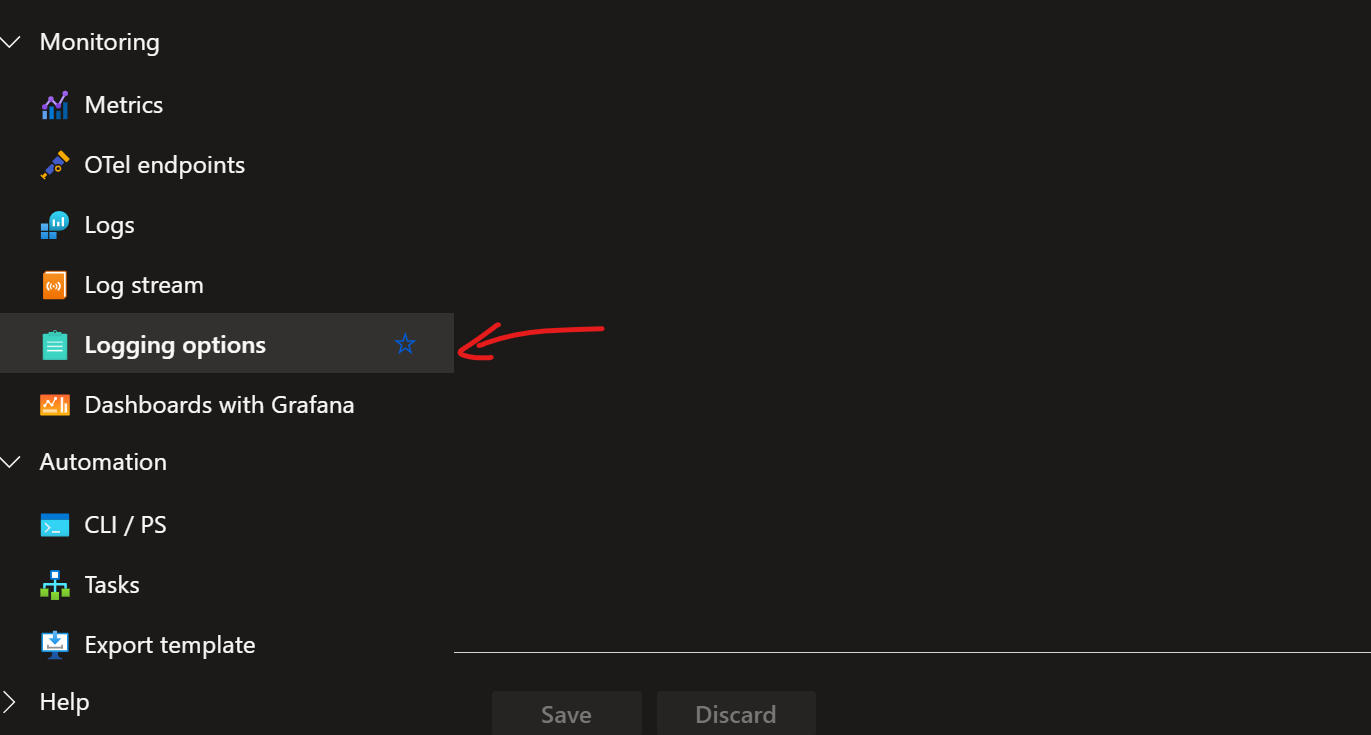
Select:
- Azure Log Analytics
Example query
ContainerAppConsoleLogs_CL
| where RevisionName_s == "your-revision"
| extend log = parse_json(Log_s)
| where log.service == "CLAWSCAN-WORKER"
| where log.level == "ERROR"
| project TimeGenerated, log.code, log.message, log.severity, log.mailboxId, log.correlationId
| sort by TimeGenerated desc
Key considerations
- All processing occurs within your tenant
- No raw email content is transmitted externally
- Credentials must be securely managed
- Monitoring should be enabled
Next steps
➡️ Configure the platform: